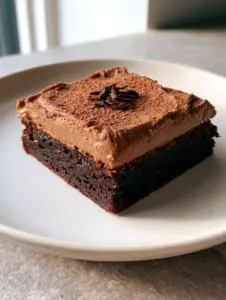
Layered Peppermint Brownies are the ultimate showstopper for your holiday dessert table, combining a dense, fudgy dark chocolate base with a thick, smooth pink peppermint cream frosting. If you are looking for that perfect viral-worthy treat that tastes even better than it looks, this recipe delivers clean, distinct layers and a refreshing minty finish.
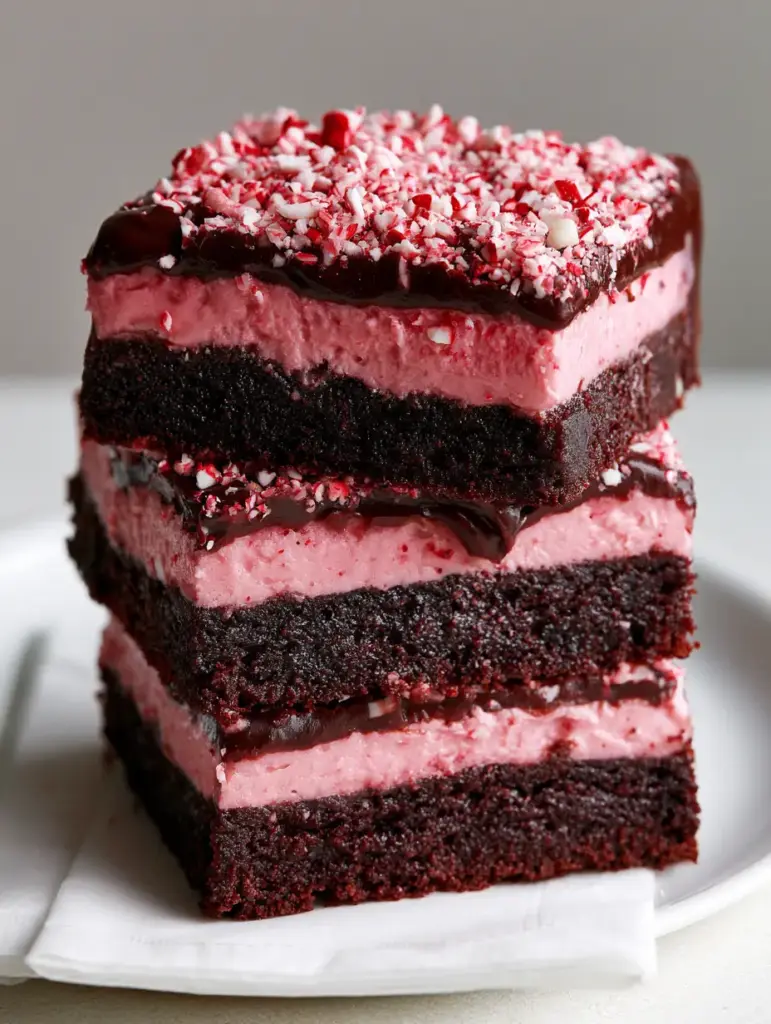
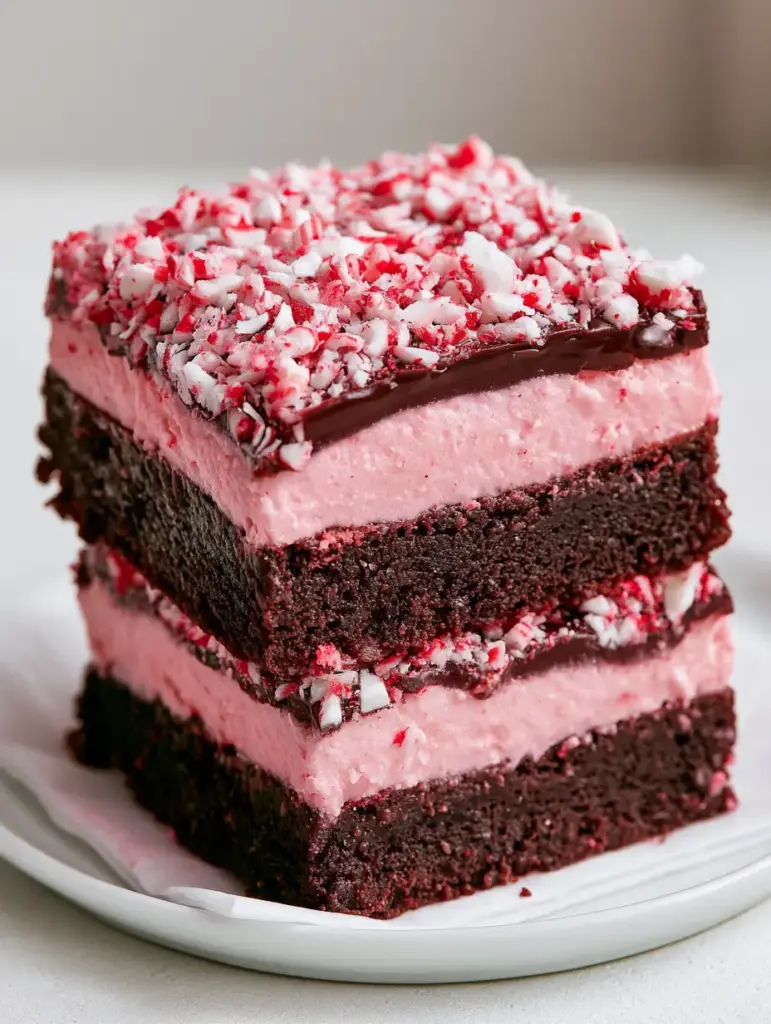
There is something undeniably nostalgic about the combination of deep cocoa and cool peppermint. These Layered Peppermint Brownies capture that magic by stacking textures: the chew of a moist dark chocolate crumb, the velvet of peppermint buttercream, and the glossy dark chocolate ganache glaze that snaps when you bite into it. Each square is heavily garnished with finely crushed red and white candy cane pieces, making them the most festive addition to any cookie exchange.
Why You Will Obsess Over These Fudgy Peppermint Layers
- The Ultimate Texture Contrast: You get a chewy brownie bottom, a cloud-like cream center, and a silky ganache top in every single bite.
- Visual “Wow” Factor: The distinct pink and dark chocolate layers look professionally bakery-made, especially when cut with clean edges.
- Perfect Holiday Flavor: The peppermint bits and candy cane garnish provide a refreshing crunch that cuts through the richness of the dark chocolate.
- Make-Ahead Friendly: These brownies actually set better overnight, making them a stress-free option for busy holiday hosting.
If you love decadent, layered treats, you should also check out our Oreo peanut butter bars or these rich coffee brownies for your next baking session.
Essential Ingredients for the Best Layered Peppermint Brownies
To achieve the professional look of these Layered Peppermint Brownies, each component requires specific ingredients that serve a culinary purpose.
The Fudgy Dark Chocolate Base
- Unsalted Butter (1 cup / 227g): Melted butter provides the fudgy, moist crumb essential for a dense base.
- Granulated Sugar (2 cups / 400g): Sugar creates those classic crackly brownie tops and provides necessary structure.
- Dutch-Processed Cocoa Powder (¾ cup / 75g): This is vital for the dark chocolate color and deep, mellow flavor seen in our visual blueprint.
- All-Purpose Flour (1 cup / 125g): Just enough to hold the structure without making the brownies cakey.
- Large Eggs (4): These act as the binder, giving the Layered Peppermint Brownies their rich, custardy lift.
The Pink Peppermint Cream Layer
- Softened Butter (½ cup / 113g): The base for a thick, smooth peppermint frosting.
- Powdered Sugar (3 cups / 360g): Provides the velvety texture and sweetness.
- Peppermint Extract (1 tsp / 5ml): The soul of the recipe; ensure you use pure peppermint extract for the best flavor.
- Heavy Cream (2 tbsp / 30ml): Thins the frosting to a spreadable but stable consistency.
- Pink Food Coloring: Just a drop to achieve the signature pink peppermint look.
The Glossy Ganache & Garnish
- Dark Chocolate Chips (1 cup / 170g): High-quality chocolate ensures a glossy, professional finish.
- Heavy Cream (½ cup / 120ml): Creates the melt-in-your-mouth ganache glaze.
- Crushed Candy Canes (½ cup / 60g): Use red and white peppermint bits for that essential holiday crunch.
Step-by-Step Instructions for Perfect Layers
Creating Layered Peppermint Brownies is a three-stage process. Patience is your best friend here—the layers must be completely cool before adding the next to prevent melting.
Baking the Dense Chocolate Base
Preheat your oven to 350°F (175°C) and line a 9×9 inch square pan with parchment paper. In a large bowl, whisk your melted butter and sugar until well combined. Add the eggs one at a time, beating well after each addition to emulsify the fats.
Sift in your dark cocoa powder and flour. Fold gently until no streaks of white remain. Pour the batter into the pan and bake for 25-30 minutes. Visual Cue: The edges should be set, but the center should still have a slight wobble. Cool these Layered Peppermint Brownies completely in the pan—putting them in the fridge for 30 minutes helps significantly.
Whipping the Peppermint Cream Frosting
In a stand mixer, beat the softened butter until pale and fluffy. Gradually add powdered sugar, peppermint extract, and a drop of pink food coloring. Pour in the heavy cream and whip on high for 2 minutes until the frosting is smooth and thick.
Spread the pink peppermint cream in an even, thick layer over the cooled brownie base. Use an offset spatula to get the top perfectly flat. Pro Tip: Chill the brownies again for at least 45 minutes to set the frosting before adding the ganache.
Applying the Glossy Ganache Glaze
Heat your heavy cream in the microwave until just simmering. Pour it over the dark chocolate chips and let it sit for 5 minutes. Stir gently until you have a glossy, pourable ganache. Pour this over the chilled pink layer, tilting the pan to cover the corners.
While the ganache is still wet, heavily garnish the top with finely crushed red and white candy cane pieces. Let the entire tray set in the refrigerator for at least 2 hours. This ensures the cut edges of the brownies are clean, showing those distinct, colorful layers.
After a long day of holiday baking, you might want something savory like our classic tater tot casserole or a warm bowl of cheeseburger soup.
Expert Tips for Success
- The Hot Knife Trick: To get the clean cut edges seen in the photos, dip a sharp knife in hot water and wipe it dry between every single cut.
- Don’t Overbake: The base of Layered Peppermint Brownies should be fudgy and moist. If a toothpick comes out completely clean, they are overdone. Look for a few moist crumbs.
- Temperature Control: Never spread the pink frosting on a warm brownie, or it will melt and become oily.
- Sift Your Cocoa: Dark cocoa powder tends to clump. Sifting ensures a smooth, velvety brownie crumb without bitter pockets of powder.
Storage, Reheating & Freezing
These Layered Peppermint Brownies must be stored in the refrigerator in an airtight container due to the cream frosting and ganache. They will stay fresh and delicious for up to 5 days. Serve them slightly chilled for the cleanest bite, or let them sit at room temperature for 10 minutes for a softer, fudgier texture.
To freeze, wrap individual squares tightly in plastic wrap and then foil. They can be frozen for up to 3 months. Thaw in the refrigerator overnight before serving to maintain the integrity of the layers.
What to Serve With This Holiday Treat
These Layered Peppermint Brownies are incredibly rich, so they pair best with a cold glass of milk or a strong cup of black coffee. If you are serving them as part of a larger holiday spread, they complement savory dishes like honey BBQ chicken and potatoes or a hearty ham and potato casserole.
Frequently Asked Questions
Yes, you can substitute the all-purpose flour in the brownie base with a 1:1 gluten-free baking flour blend. Since the base is meant to be fudgy rather than airy, this substitution works very well.
Peppermint oil is much more concentrated than extract. If substituting, use only 1/4 teaspoon of oil for every 1 teaspoon of extract to avoid an overpowering medicinal taste.
The secret is temperature and a hot knife. Ensure the brownies are fully chilled (at least 2-4 hours). Dip a sharp chef’s knife in hot water, wipe it completely dry, and make one clean slice. Repeat the cleaning and heating for every single cut.
Stored in an airtight container in the refrigerator, these brownies stay fresh and fudgy for up to 5 days. For the best texture, let them sit at room temperature for about 10 minutes before serving.
This usually happens if the brownie base hasn’t cooled completely or if the butter was too soft. Make sure the brownies are room temperature or cold before frosting, and chill the frosted brownies before adding the warm ganache.
The Ultimate Layered Peppermint Brownies Recipe
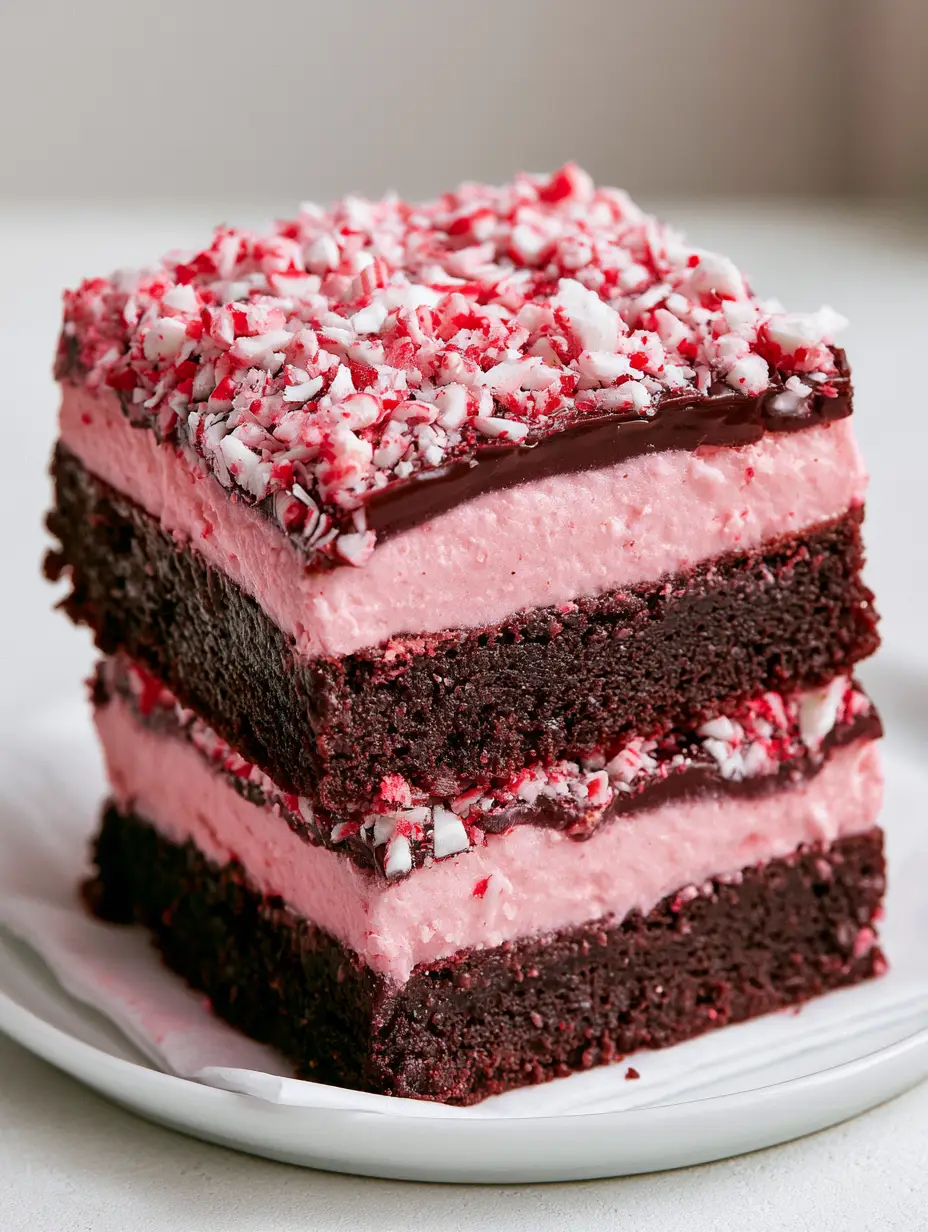
Layered Peppermint Brownies with Pink Cream Frosting and Glossy Ganache
Ingredients
Equipment
Method
- Mix melted butter, sugar, and eggs. Fold in cocoa and flour. Bake at 350°F (175°C) for 25-30 minutes. Cool completely.
- Whip softened butter, powdered sugar, peppermint extract, cream, and pink food coloring until fluffy. Spread over cooled brownies and chill.
- Melt dark chocolate with heavy cream until glossy. Pour over the chilled peppermint layer. Top with crushed candy canes and chill until set.
Notes
Ensure each layer is cold before adding the next.
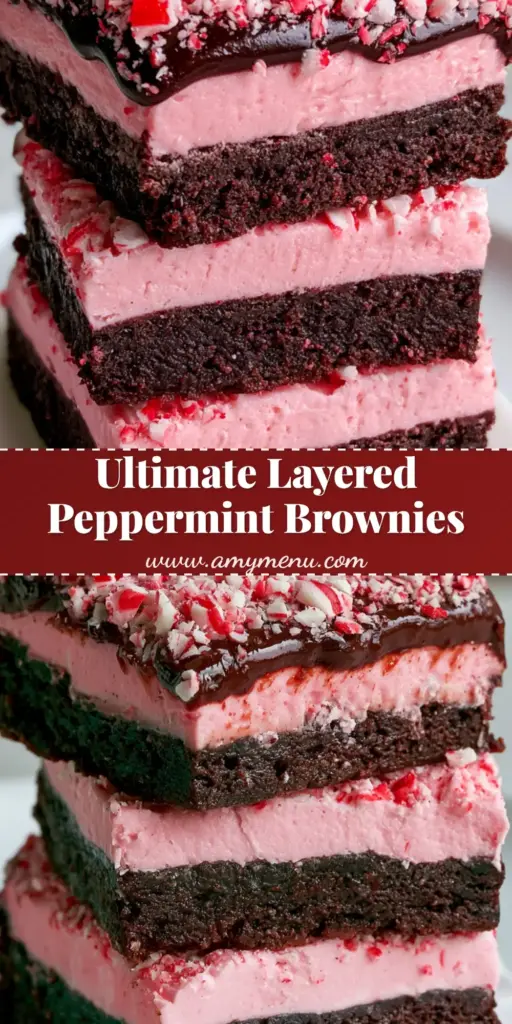
Save, Share, and Rate!
Did these Layered Peppermint Brownies become the star of your holiday party? We want to see! Please save this recipe to your Pinterest Holiday Board by clicking the pin button. Don’t forget to follow amy_menu_official for more decadent dessert inspiration. If you made these, leave a 5-star rating in the recipe card above and upload a photo of your beautiful layers in the comments below!